Introduction
GitLab is a free tool that helps you store and manage your code, like a big digital filing cabinet. It also has extra features for keeping track of issues and tasks related to your code. You can set it up on your own computer system OR You can use it within your team for sharing code, make it public for others to see, or let people host their own code projects.
These are some good reasons why we have to set up Gitlab in own infra.
Data Privacy: Hosting GitLab on your own infrastructure allows you to keep your code and data within your network, enhancing data privacy and reducing the risk of data leaks or unauthorized access. This is particularly important for organizations with strict data protection regulations.
Regular Updates: You can manage and schedule updates and patches for GitLab according to your own maintenance schedule, ensuring that security updates are applied promptly.
Backup and Recovery: You can implement robust backup and disaster recovery strategies to protect your code repositories from data loss due to hardware failures, human errors, or security incidents.
Compliance: Hosting GitLab on your own infrastructure can make it easier to demonstrate compliance with industry regulations or internal security policies since you have direct control over the environment and can implement necessary security controls.
In this lab, we will get to know how to install and set up GitLab Community Edition on an Ubuntu 20.04 server.
The published GitLab hardware requirements recommend using a server with a minimum of:
- 4 cores for your CPU
- 4GB of RAM for memory
Step 1 — system update and Install the Dependencies
root@TzoneLabs:~# apt update && apt upgrade -yThen install the dependencies by entering this command:
root@TzoneLabs:~# apt install -y ca-certificates curl openssh-server tzdataStep2 – Add the GitLab GPG key to trusted keys:
root@TzoneLabs:~# curl -fsSL https://packages.gitlab.com/gitlab/gitlab-ce/gpgkey | sudo gpg --dearmor -o etc/apt/trusted.gpg.d/gitlab.gpgStep3 – Edit the GitLab repository source list:
root@TzoneLabs:~# vi /etc/apt/sources.list.d/gitlab_gitlab-ce.listAdd the following lines to the file:
deb https://packages.gitlab.com/gitlab/gitlab-ce/ubuntu/ focal main
deb-src https://packages.gitlab.com/gitlab/gitlab-ce/ubuntu/ focal main
Step4 – Install GitLab
root@TzoneLabs:~# apt update
root@TzoneLabs:~# apt install gitlab-ce
Step5 – Edit the GitLab configuration file:
root@TzoneLabs:~# vi /etc/gitlab/gitlab.rbAdd your server’s IP address(or URL which want to configure) to the external_url setting, like this:
external_url 'http://your_server_ip'Step6 -Configuration and Start
Reconfigure GitLab:
root@TzoneLabs:~# gitlab-ctl reconfigureCheck the status of GitLab components:
root@TzoneLabs:~# gitlab-ctl statusCollect the initial root password:
root@TzoneLabs:~# cat /etc/gitlab/initial_root_passwordManage GitLab using various commands like checking GitLab health:
root@TzoneLabs:~# gitlab-rake gitlab:checkStart, stop, or restart GitLab services as needed:
root@TzoneLabs:~# gitlab-ctl start
root@TzoneLabs:~# gitlab-ctl stop
root@TzoneLabs:~# gitlab-ctl restart logrotate     ## this will restart logrotation git utility
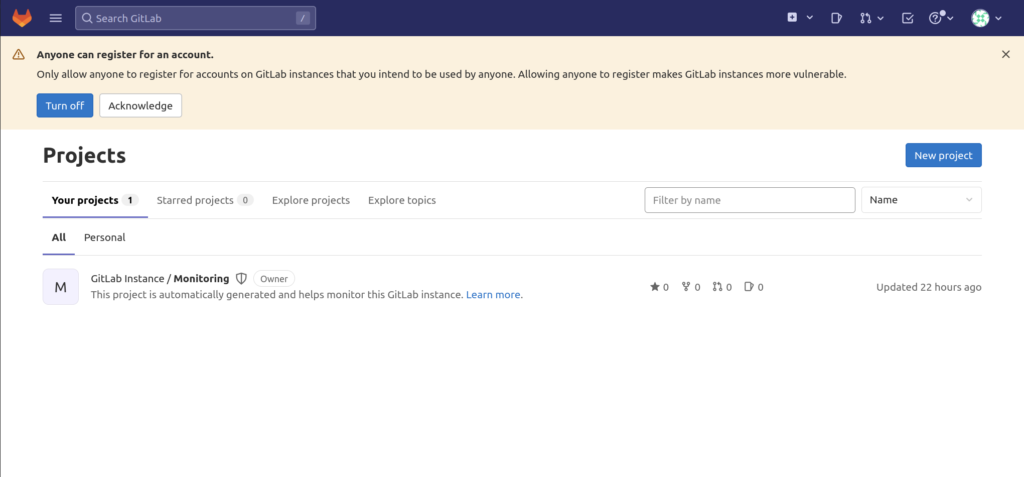
Logging In for the First Time
type http://<your_server_ip>

- Username: root
- Password: [the password listed on
/etc/gitlab/initial_root_password]

Note — all the above steps I have performed on an EC2 machine on Ubuntu 22.04, so please open the inbound port to access Gitlab from the browser.
Also Read:-
Gitlab Installation : The Best way
GitLab’s Implementation of Group-Based Authorization
Reference:- https://about.gitlab.com/install/
